
5 of the most USEFUL Cooking Tips I Learned in Culinary School
In culinary school you learn to be on time, yell "yes Chef", and move around a professional kitchen, but what I find the most helpful in my everyday life are these practical skills. These are tips from the pros that I have adapted to work in my home kitchen. Learning these skills has taken away the frenzy and chaos of cooking and made it an enjoyable process for me. I want to share these because I feel they can be helpful in making meal-time go smoother in your home kitchen too.
5 Cooking Tips I use every day
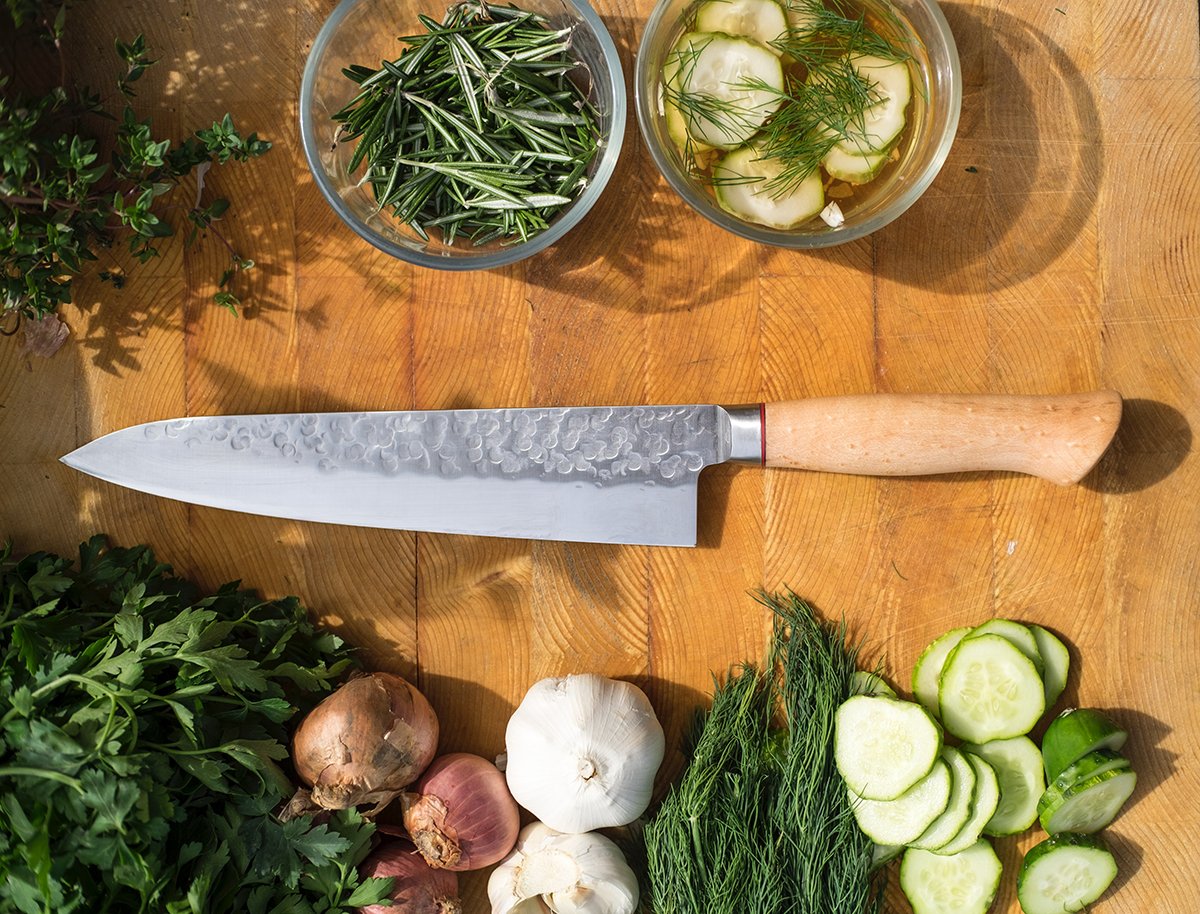
Mise En Place
Toast your Spices
Rinse the Rice
Save meat and veggies scraps
Don’t overcrowd the pan
Mise En Place
To Put in place. The French culinary phrase means putting in place. In other words, be organized. Read recipes ahead of time, gather the ingredients, and do messy prep first. Clean as you go and avoid the dreadful aftermath of a messy kitchen. Dinner will turn out better, and you'll be less stressed. Over time this becomes second nature as you get in rhythm with the kitchen. Mise En Place is one of the first practices that's taught in culinary school, and it’s for a reason. Imagine 20 messy college students trying to run a kitchen. Yikes, you’ve got to get organized. I know for me at least that less mess equals a happier me. Each time I'm in the kitchen, I strive to improve at these things. Cooking can be stressful and overwhelming, but it doesn't have to be.1.
How to practice Mise en Place in your kitchen:
Use sheet pans to organize ingredients.
Gather all ingredients, utensils, and equipment needed before you start cooking.
Buy cooking tools and equipment that work for your needs. Having the right equipment is essential to Mise En Place and being prepared in the kitchen. Here are 7 practical tools I use for everyday cooking in my kitchen.
Read the recipe in advance and prepare elements ahead of time. (make things like pie dough and fillings ahead)
Clean off your cutting board as you go. As you chop ingredients, place them in a bowl off to the side to keep your area clear.
Section your cutting board for different ingredients. An example of this would be cutting onions and other alliums on a dedicated corner of the cutting board. This separation prevents the onion flavor from contaminating other foods.
Use a compost pail or scrap bowl next to your prep space.
Cut your fresh produce first and meat after to ensure no cross-contamination. Or have a dedicated cutting board for raw meats.
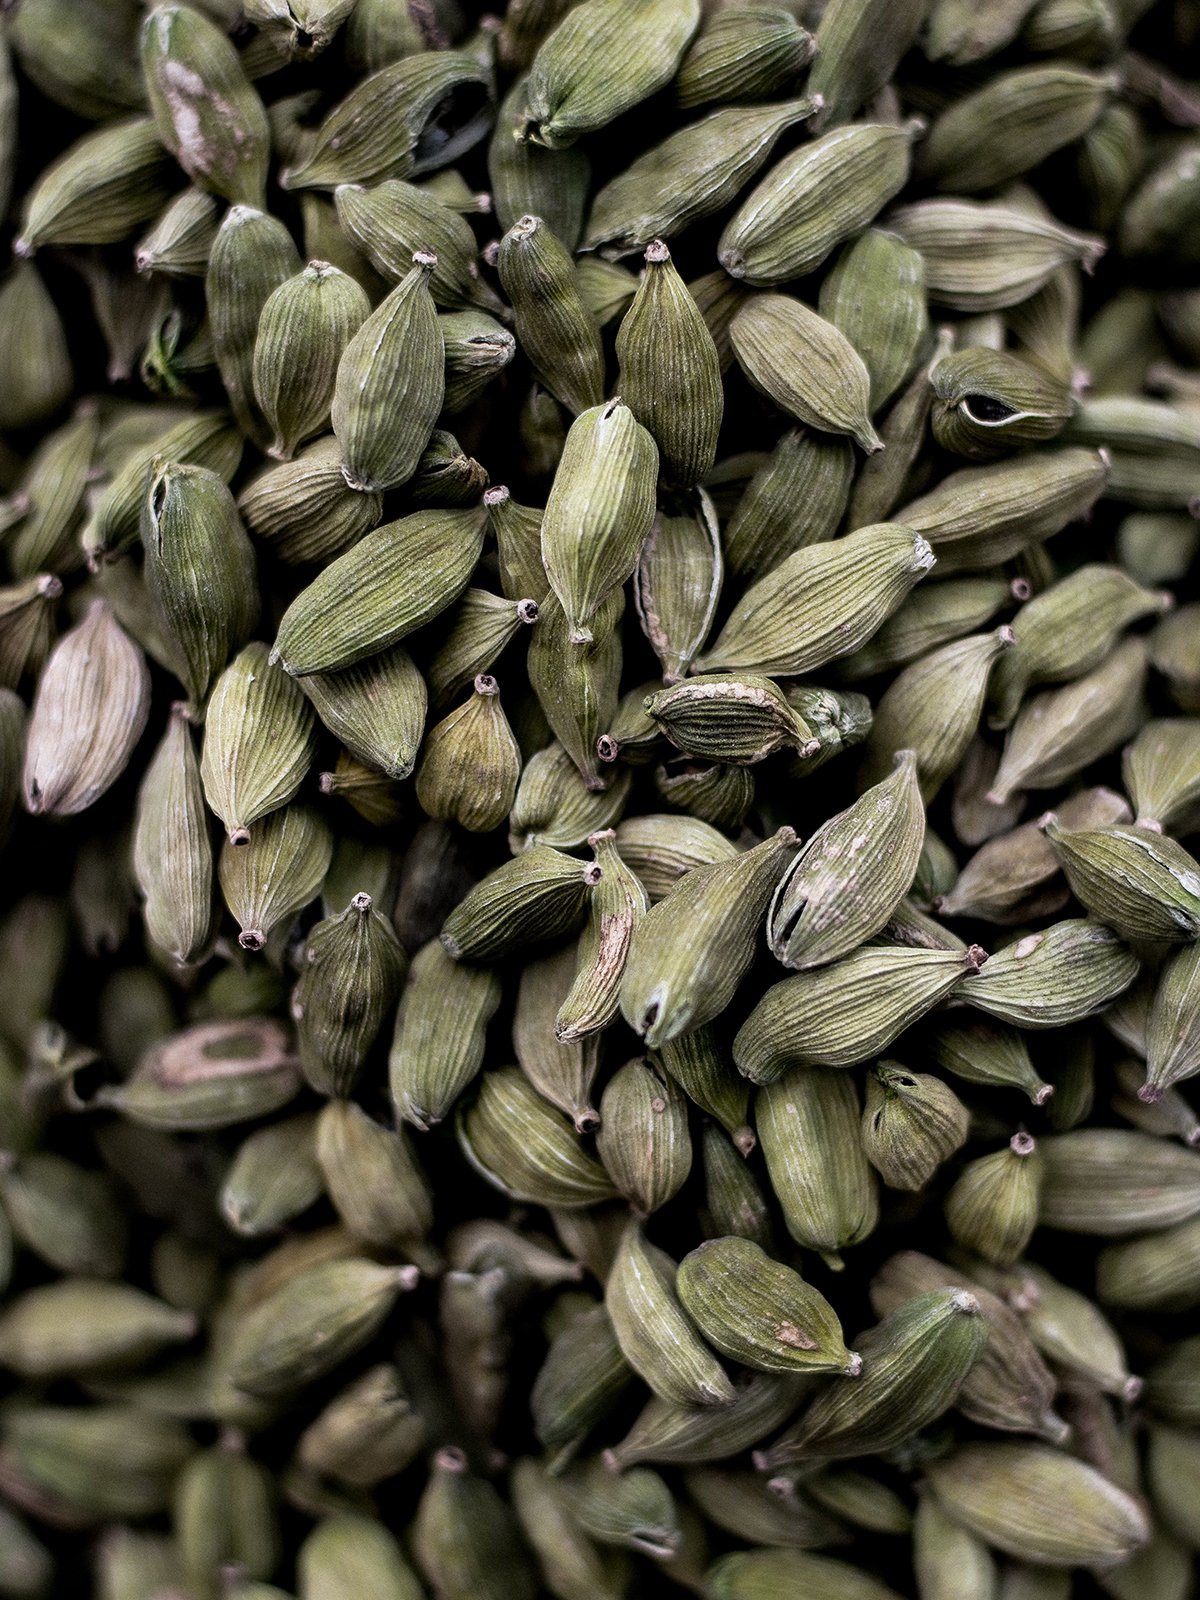
2. Toasting Spices
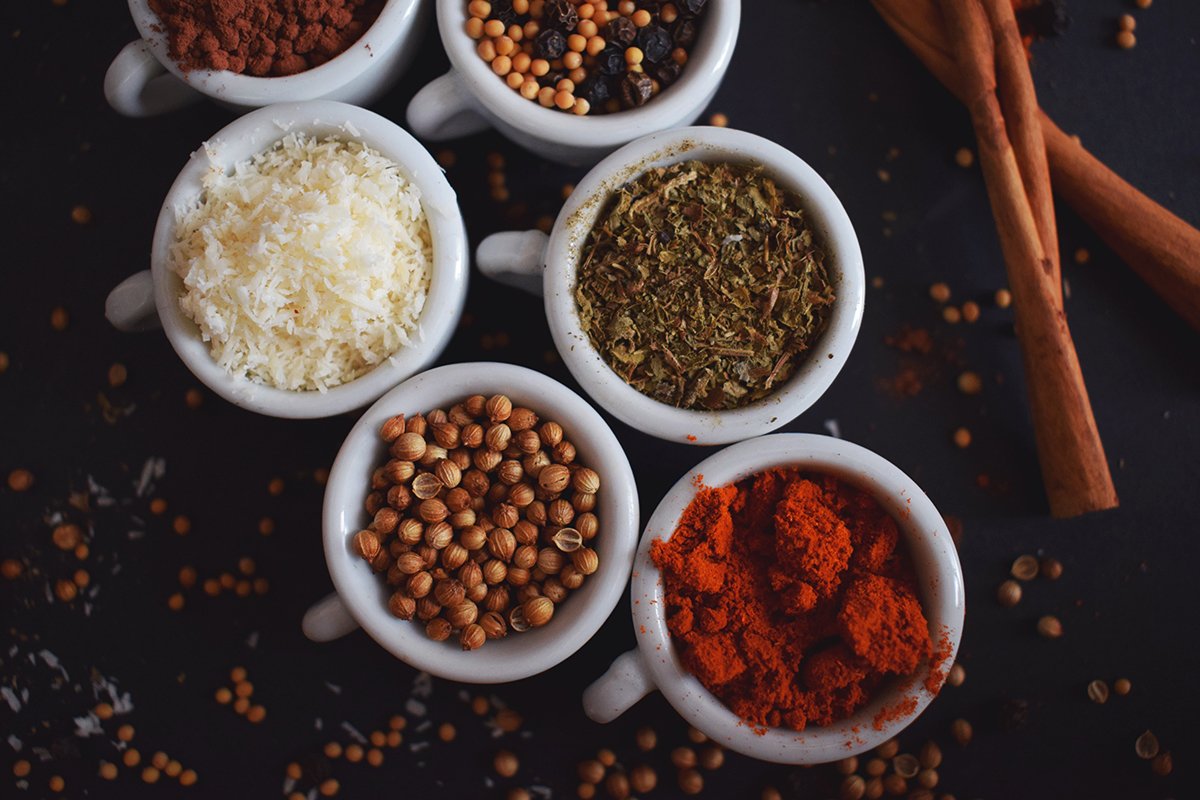
Toasting whole spices are essential to taking a meal from good to great. Chefs use this technique to enhance the food they are cooking. Most of us are used to the flavor of old spices and don't even realize it. You should be going through spices in about 3-4 months. Past this, the aromatic flavors will be dull and not as vibrant. Your not getting the full potential out of your spices. I have noticed my cooking improve immensely by adopting this one practice. It really makes a huge difference.
Whole Spices vs. Ground
I prefer to buy whole spices over buying pre-ground where I can. Whole spices that you toast and grind yourself are just more potent and fragrant. They offer something that pre-ground spices just can’t. Dried Spices release their aromatic essence best when toasted or warmed in fat (oil, butter). Fat carries flavor, making for a better dish.
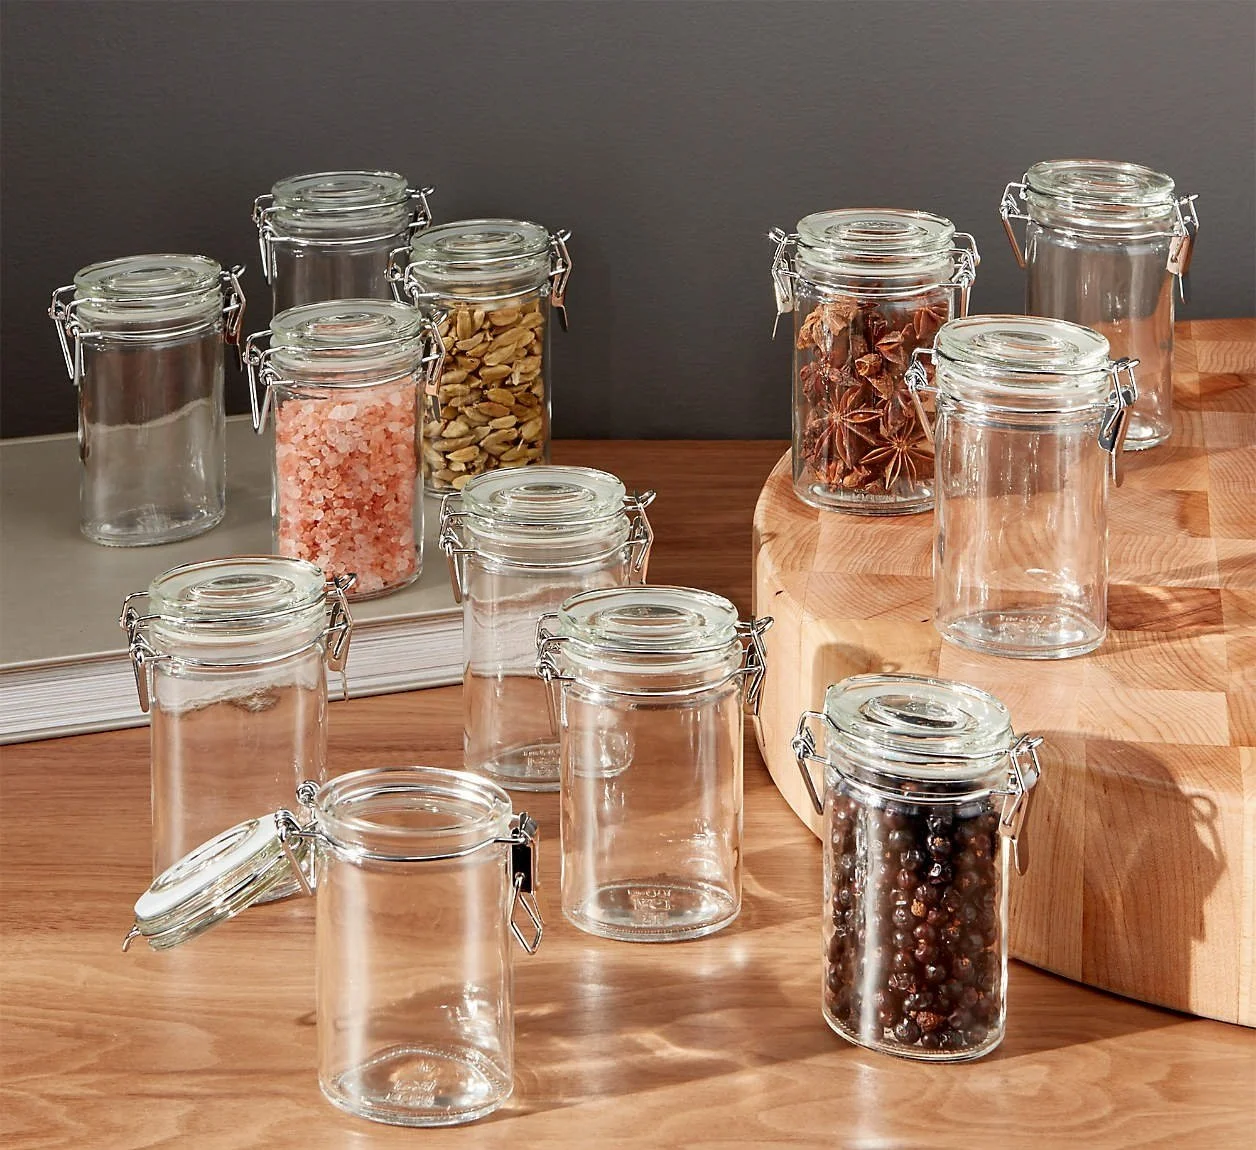
Storing Spices
Since spices don't last long, I utilize the bulk section at the co-op and buy small amounts more often.
Store your spices in glass containers instead of plastic. Plastic can absorb the spice oils and impart a stale flavor. My favorite glass containers are these Mini Oval Spice- Herb Jars from Crate and Barrel. These fit perfectly in my spice drawer sideways, have an easy-to-use clamp lid, and look great with labels.
We all have spices that have been in our cabinets for years that we bought for one recipe and never touched again. I am consistently reassessing and refining my spice drawer to make sure I'm staying up to date.
How to toast spices
Throw the whole spices into a dry pan or a pan with a glug of oil over medium-low heat, and keep them moving in the pan to prevent them from burning. Toast for a few minutes until they smell toasty and fragrant. Then, grind with a mortar and pestle or spice grinder.
3. Rinse your rice
For a long time, I struggled to get the perfect rice. The texture always ended up glumpy and gluey. This simple tip is one of the keys to the perfect rice texture. Use this method on long-grain rice varieties that you don't want to be creamy. An example would be for curry, or when you're eating rice on its own and desire a separated fluffy grain texture. It's important to note that I don't do this when making rice in a pilaf or risotto where you want the extra starch to create that creamy texture.
How to rinse rice
Rinse the rice in a sieve or strainer with cold water for about a minute. Do this until the water runs clear and is no longer cloudy. By rinsing off the extra starch, dust, and debris, you create more separate grains of rice that are light and fluffy. Don’t forget to fluff your rice gently with a fork for that separated fluffy texture.
4. Save meat and veggie scraps
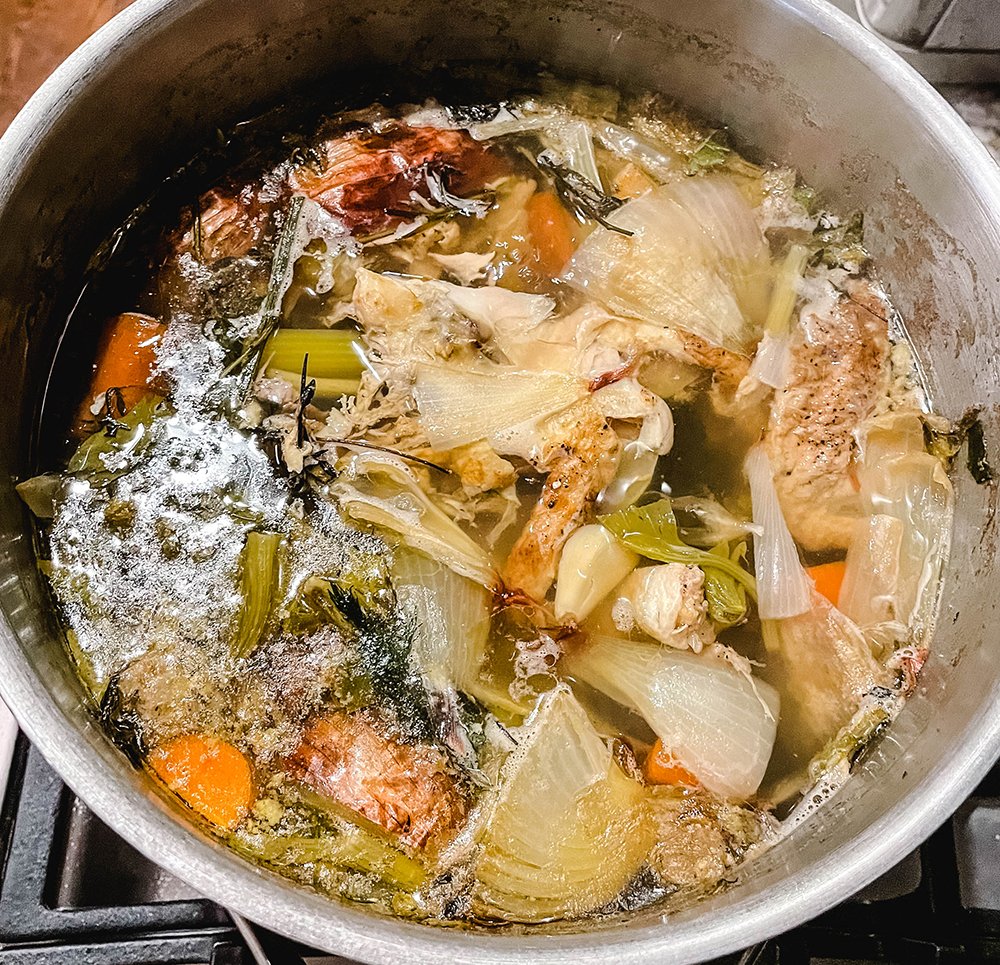
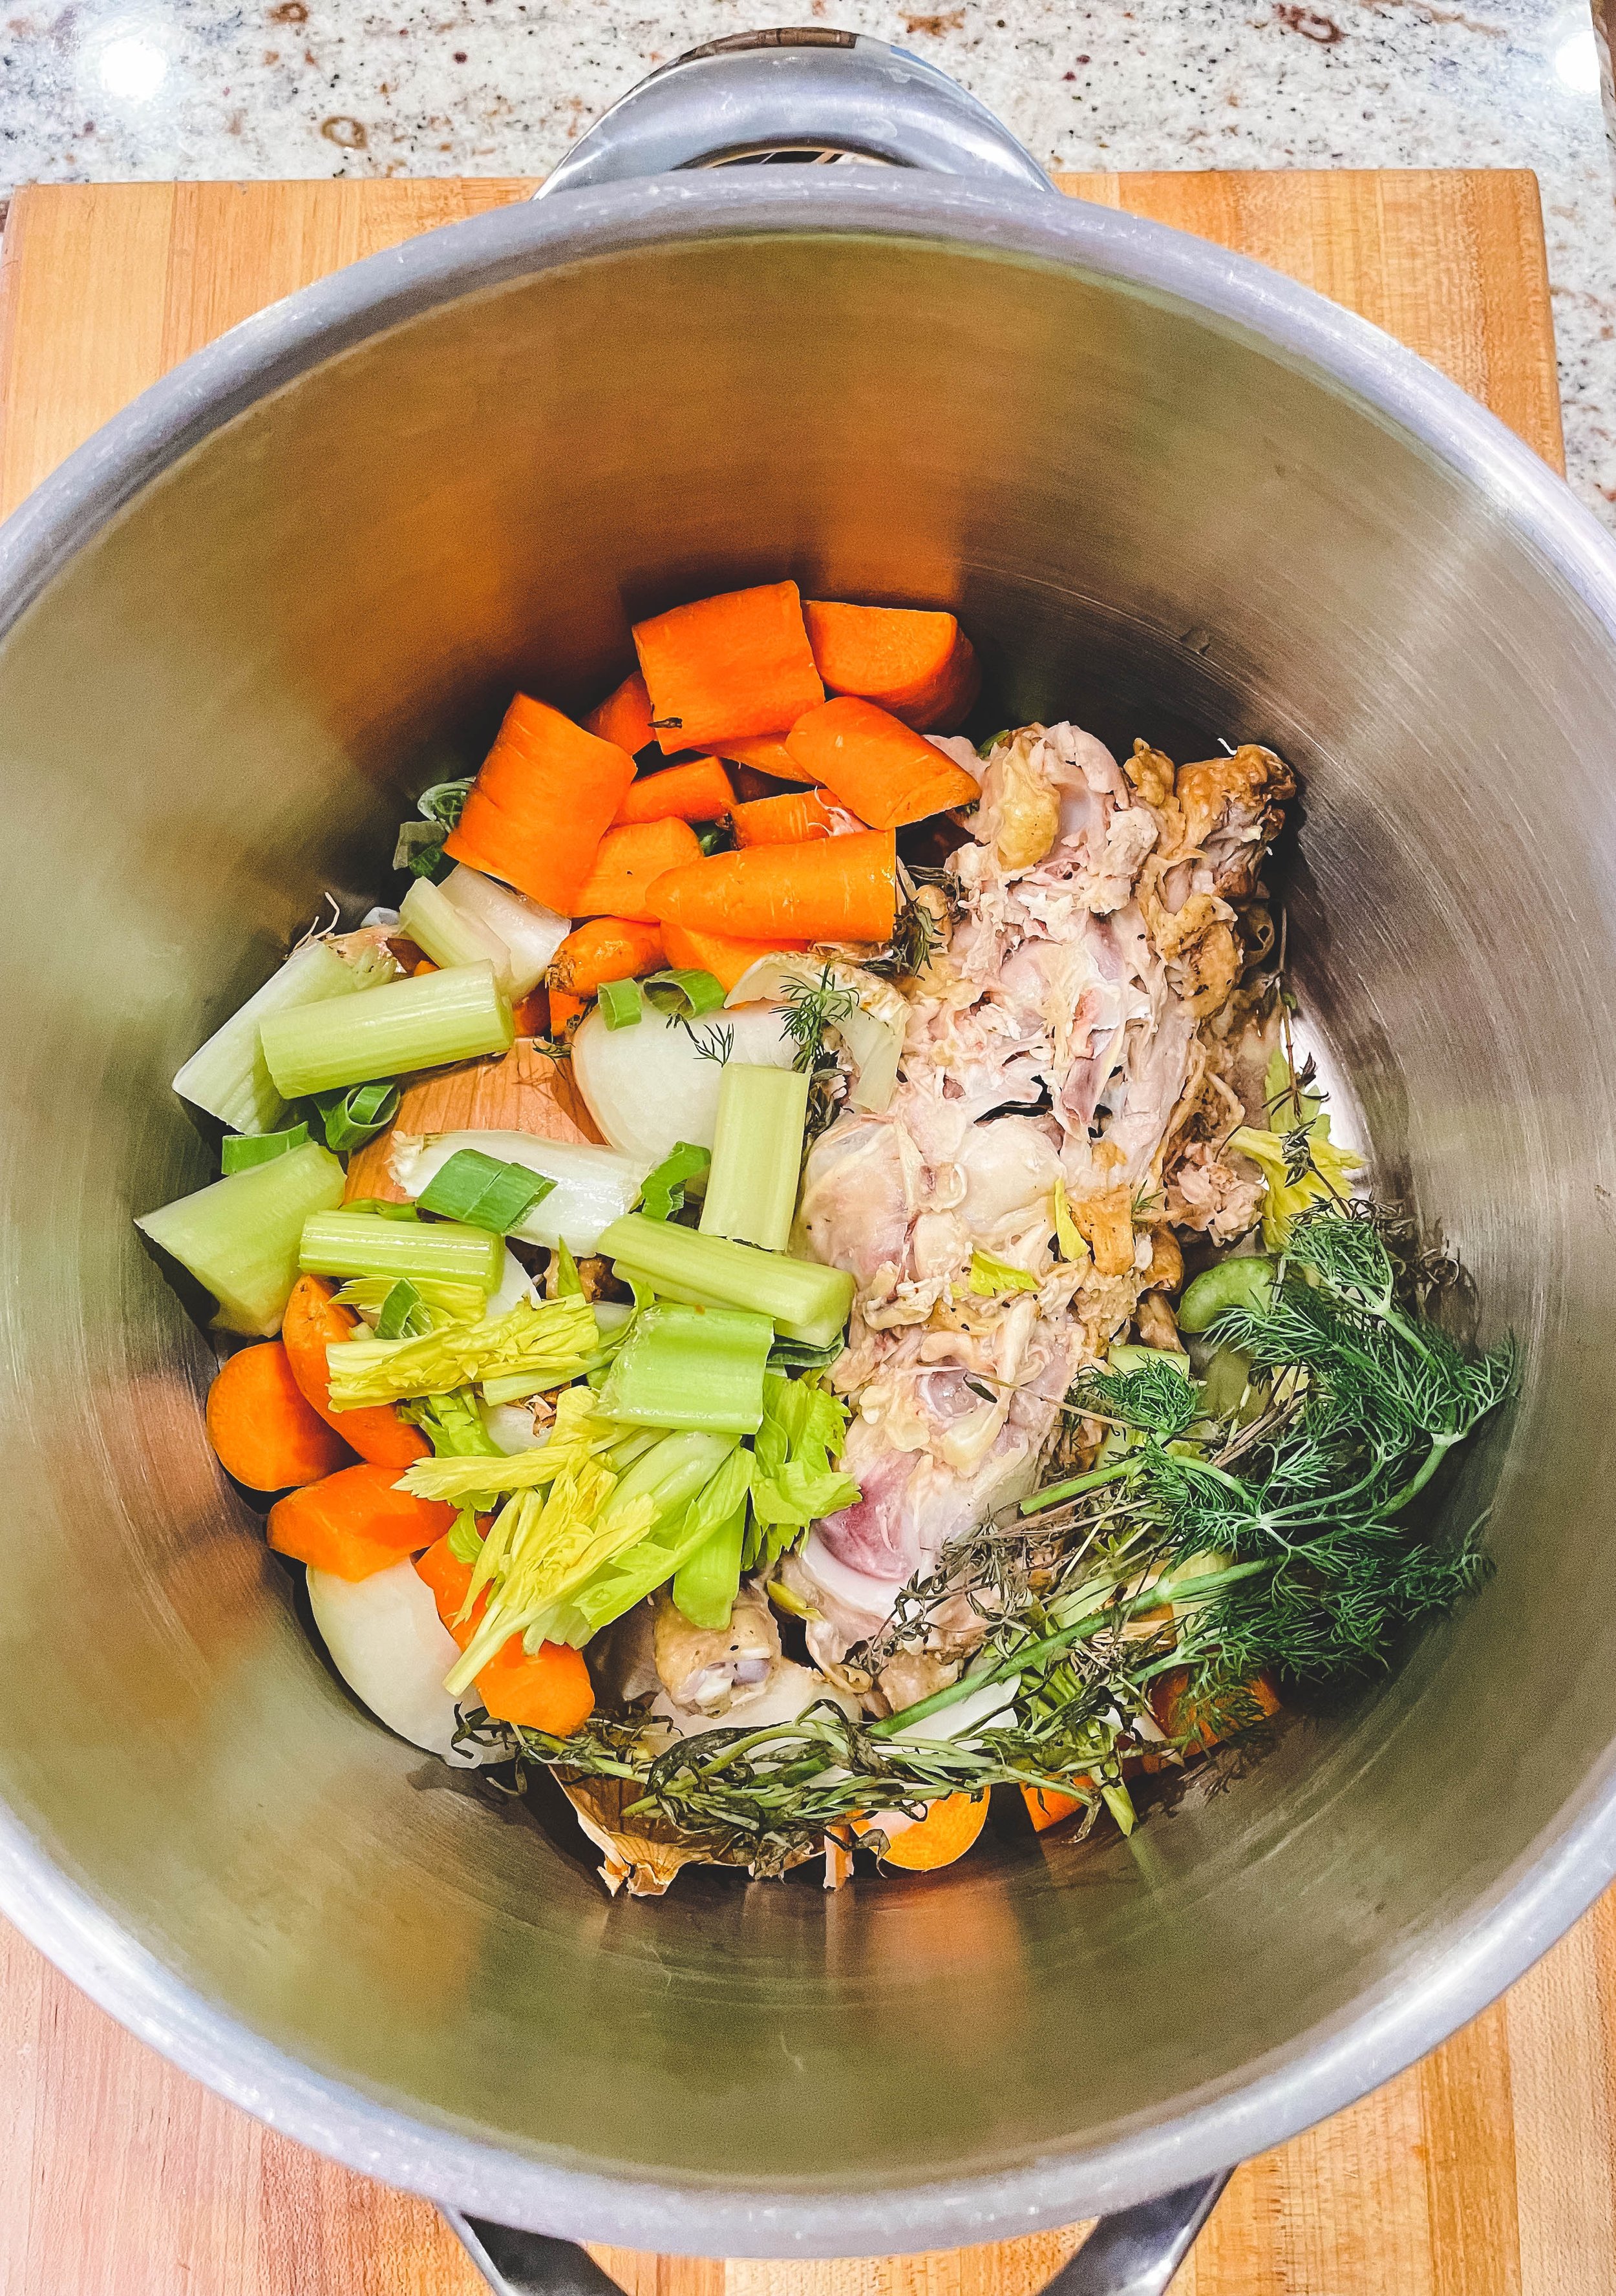
What some may consider garbage is gold in the kitchen. Learning to waste less food and use everything you buy is essential to cooking sustainably, and something I strive to get better at. Save all those forgotten soft celery tops, onion ends, and carrot tops and reuse them! The same goes for rotisserie chicken scraps or animal bones you roasted. It pains me to think of all the rotisserie chickens I threw out in the past before learning this tip. There's still flavor to be drawn out of those foods to be used to make something new.
Throughout the week, I save veggies that have gone soft and other odds and ends in a container or bag. The leeks, onions, celery, carrots, and garlic are used for chicken, beef, and veggies stocks and the rest can be composted if needed. My Homemade Chicken Stock recipe is perfect for using up both meat and veggie scraps. In culinary school nothing goes to waste, everything has multiple purposes.
Work smarter not harder
To make it easier to remember to save these bits, I keep a bowl placed at the top of my cutting board to throw things in as I cook. This also prevents me from having to make a million trips to the compost pail across the kitchen.
5. Don’t overcrowd the pan
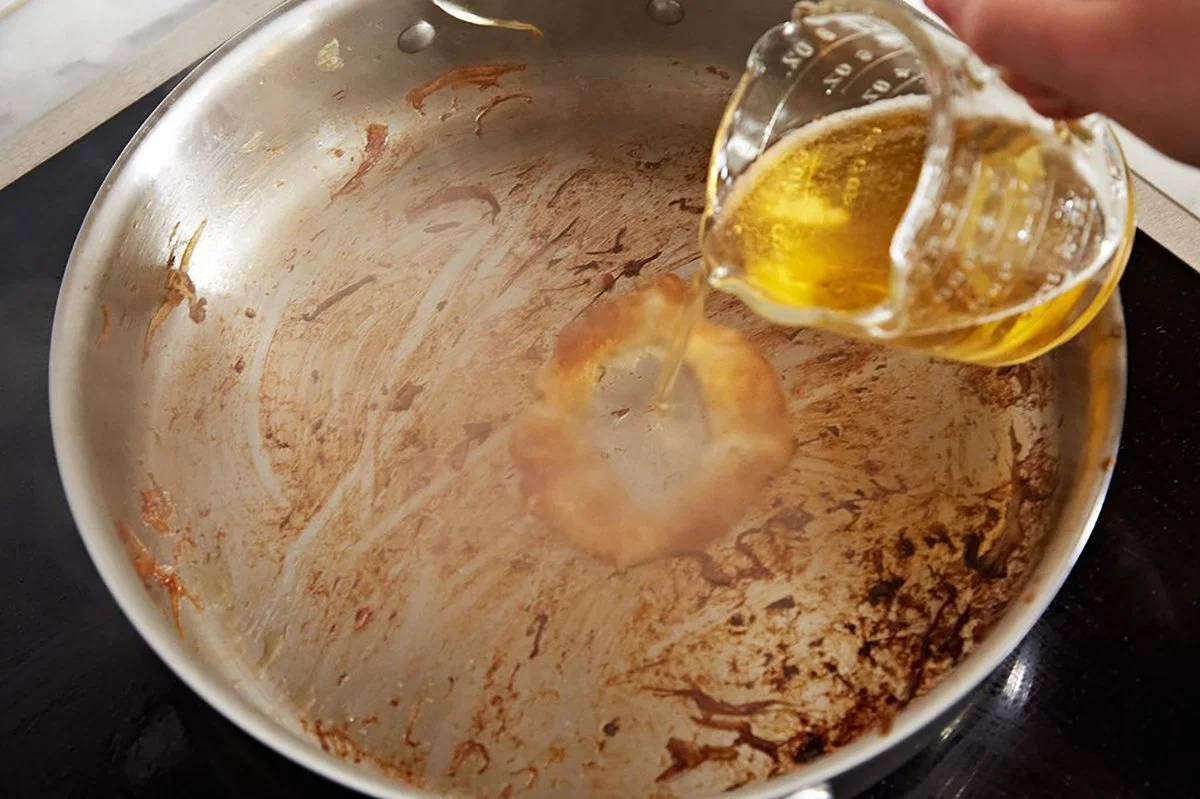
Struggling to get browning and crispiness on food is most likely the cause of an overcrowded pan. When you pack a pot with too much of an ingredient, it creates too much steam and moisture. Moisture is the enemy of browning. Instead of the food becoming crispy and brown, it will just end up steaming. Brown food is good food. For example, if your searing beef and add too much in a pan, you will notice the meat turning grey instead of getting that nice crispy, crunchy brown crust, which is where all the flavor exists.
How to create flavorful food
You want to create fond, which is just a fancy term for the brown bits of food in the bottom of a pan after browning meat or vegetables. These concentrated caramelized food bits are gold in cooking. Typically they are stirred into a rich flavorful sauce, made by deglazing a pan with wine, stock, or broth. By simply avoiding overcrowding, a more nuanced, well-rounded flavor is developed. It may not be talked about enough but is one of the biggest mistakes newbies make that prevent them from getting the results they see in the recipe.


